
Having a contact form on your website can solve a lot of problems for you as a website owner. You can protect your email from being spammed, and allow direct, easy communication to you from your users. So how hard is it to add a contact form to your website? Well, if you are using WordPress, it just takes a few steps; Especially if you use a WordPress contact form builder that makes it even easier, like weForms.
Install the Contact Form Plugin
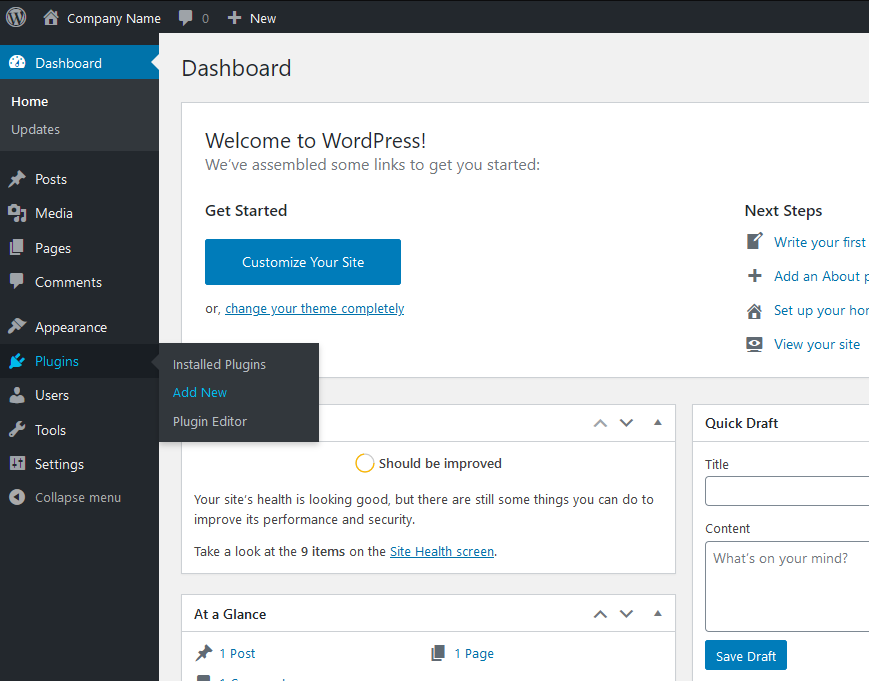
This is the easy part if you are using WordPress. Simply login to the WordPress Dashboard and hover over the Plugins Menu option on the left hand sidebar, then click Add New.
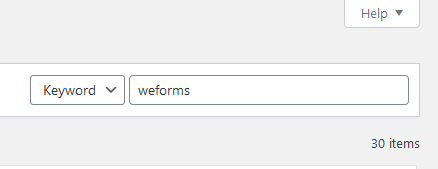
In the top right, search for the plugin you are looking to install. In this case, it is weForms.
Click Install Now, Then Activate.

Now it is time to create a form, and then add it to a page on your website. Next, it’s time to create a form with your newly installed contact form plugin.
Creating a Contact Form in WordPress
Creating a contact form in WordPress is very easy when you use a drag and drop form builder, like weForms. The following steps show you how to create a basic lead generating contact form.
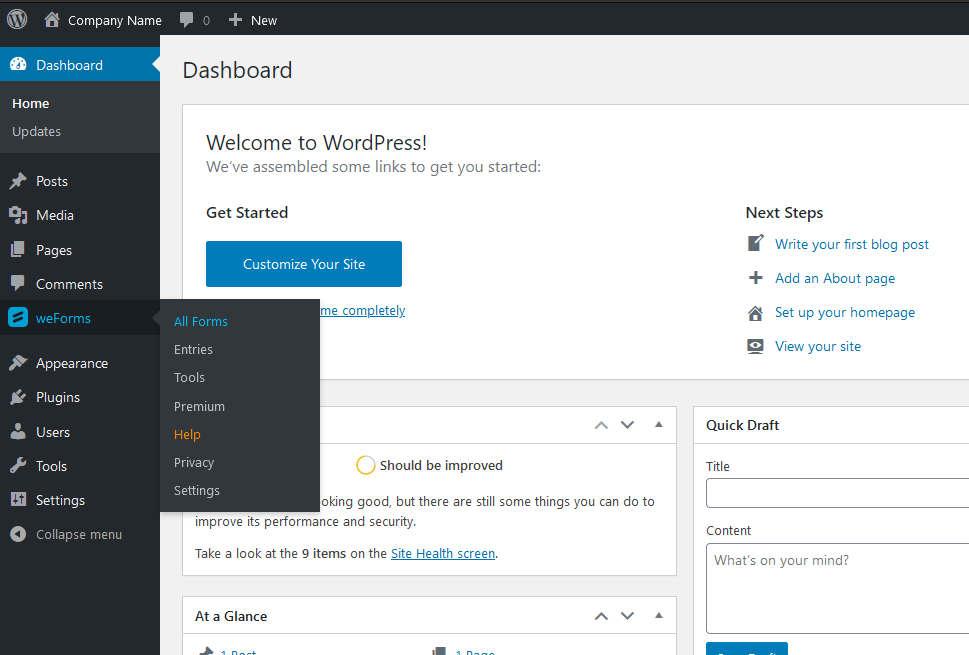
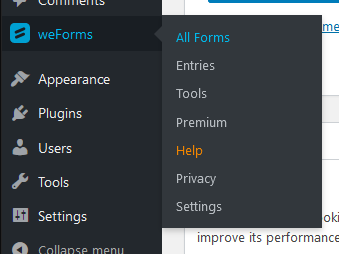
On the left hand menu in your WordPress Dashboard, hover over weForms and click on All Forms
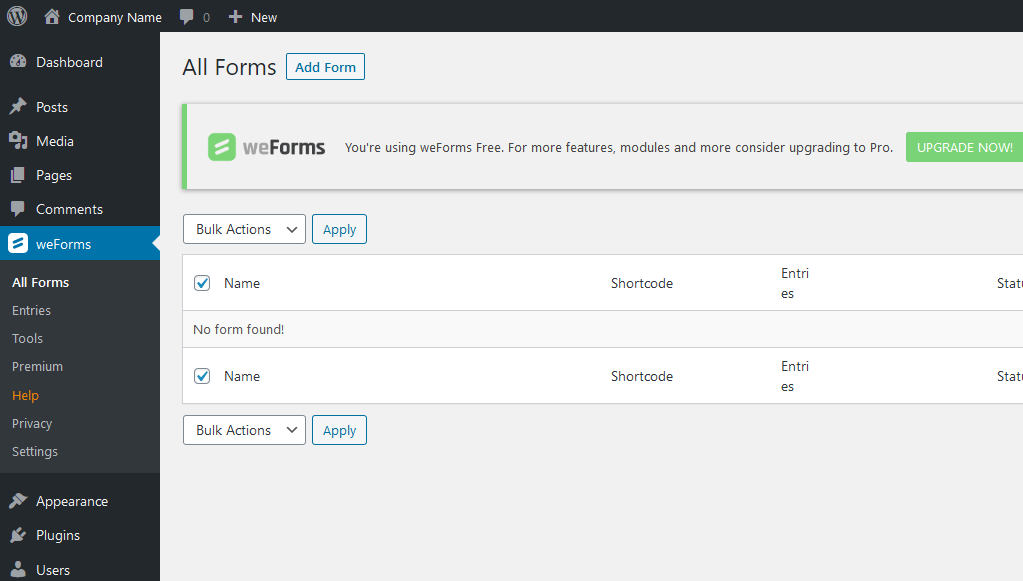
At the top of the page, click Add Form
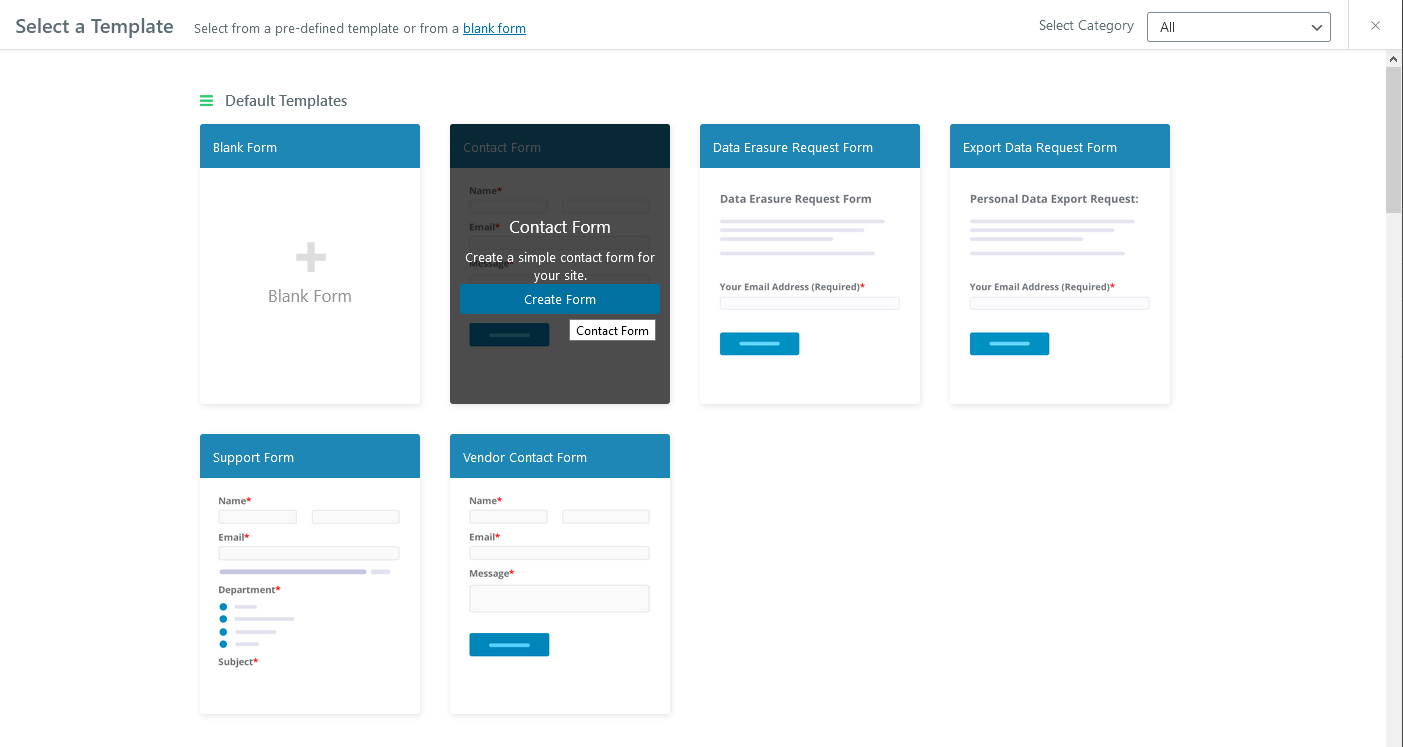
You can choose one of the following templates, or start a blank form. In this example, we will be using the Contact Form template
Drag any of the Custom Fields from the builder to create your very own, custom WordPress contact form
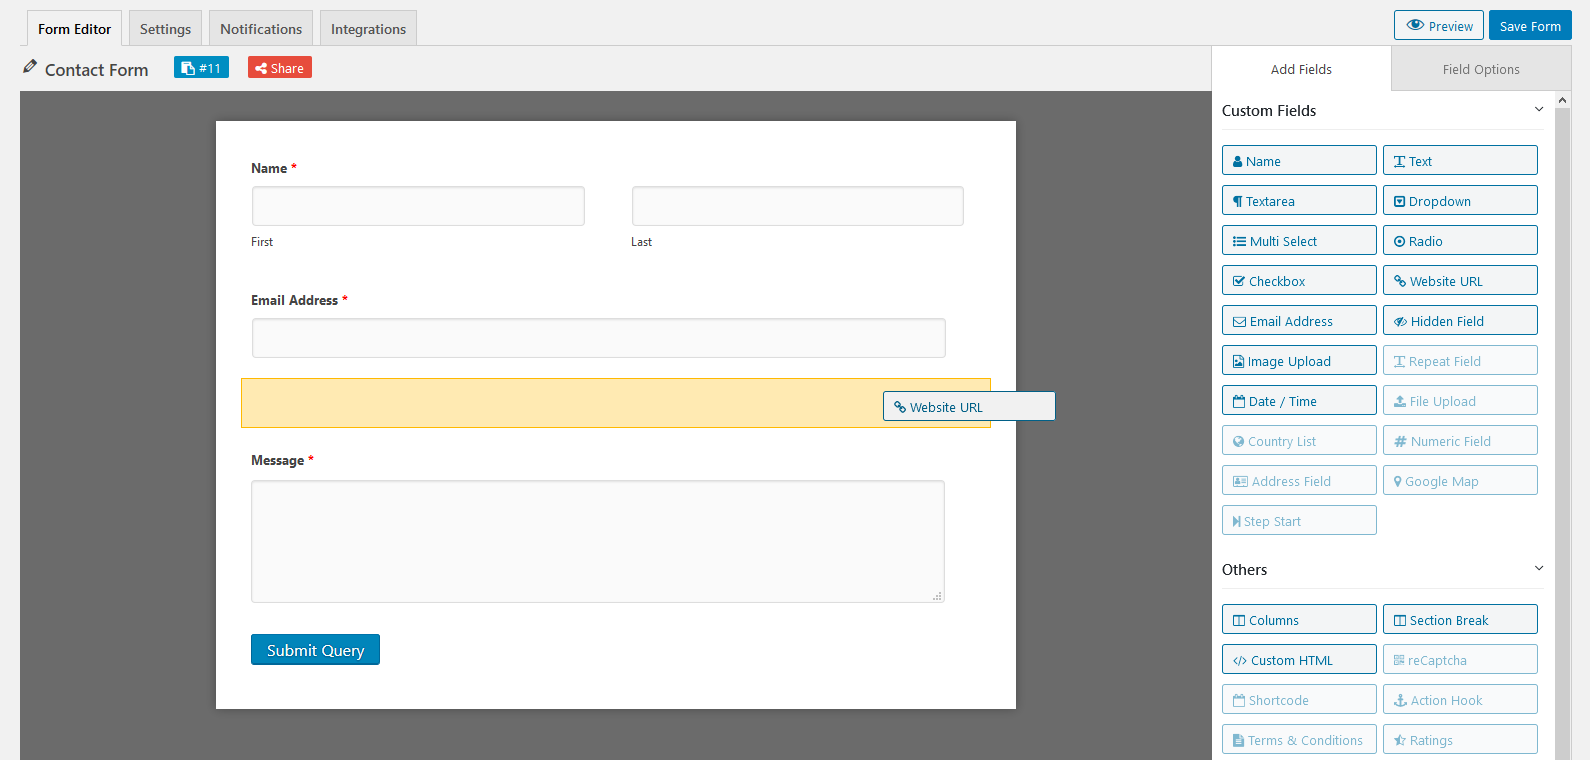
Save the form when you are finished by clicking Save Form in the top right corner
Next, it is time to ensure the form notifications are going to the correct place.
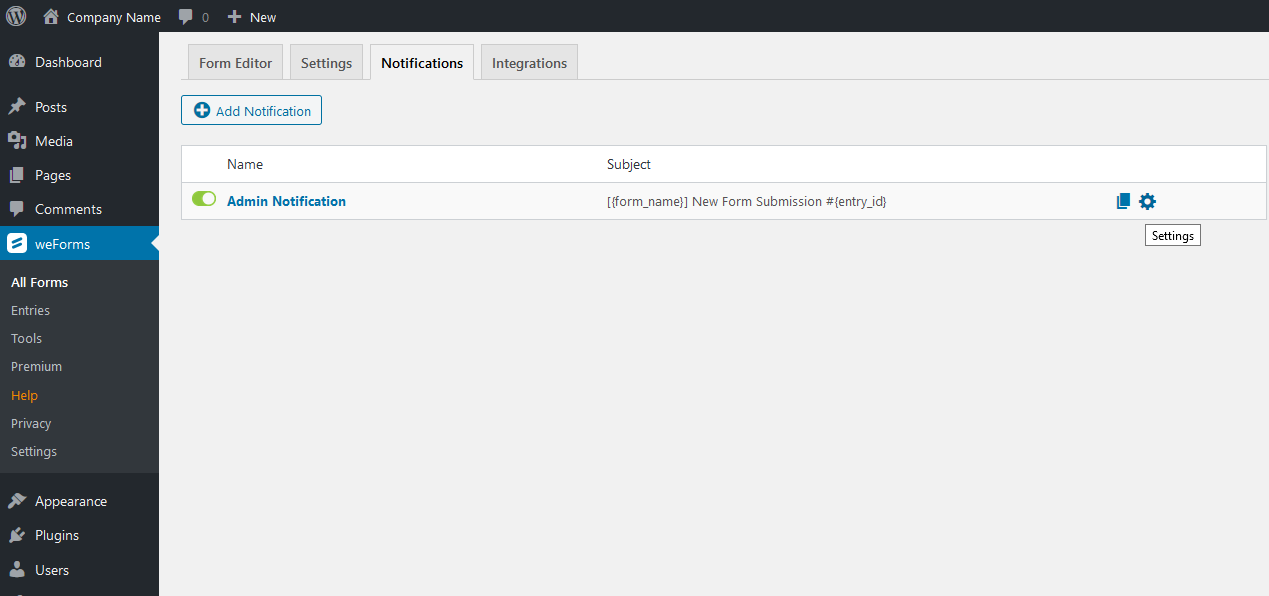
Configuring Your Contact Form Notifications in WordPress
Click the notifications tab at the top
Click the gear icon to view the settings
On the right, select the “To” field, and enter any email address you wish to receive notifications at
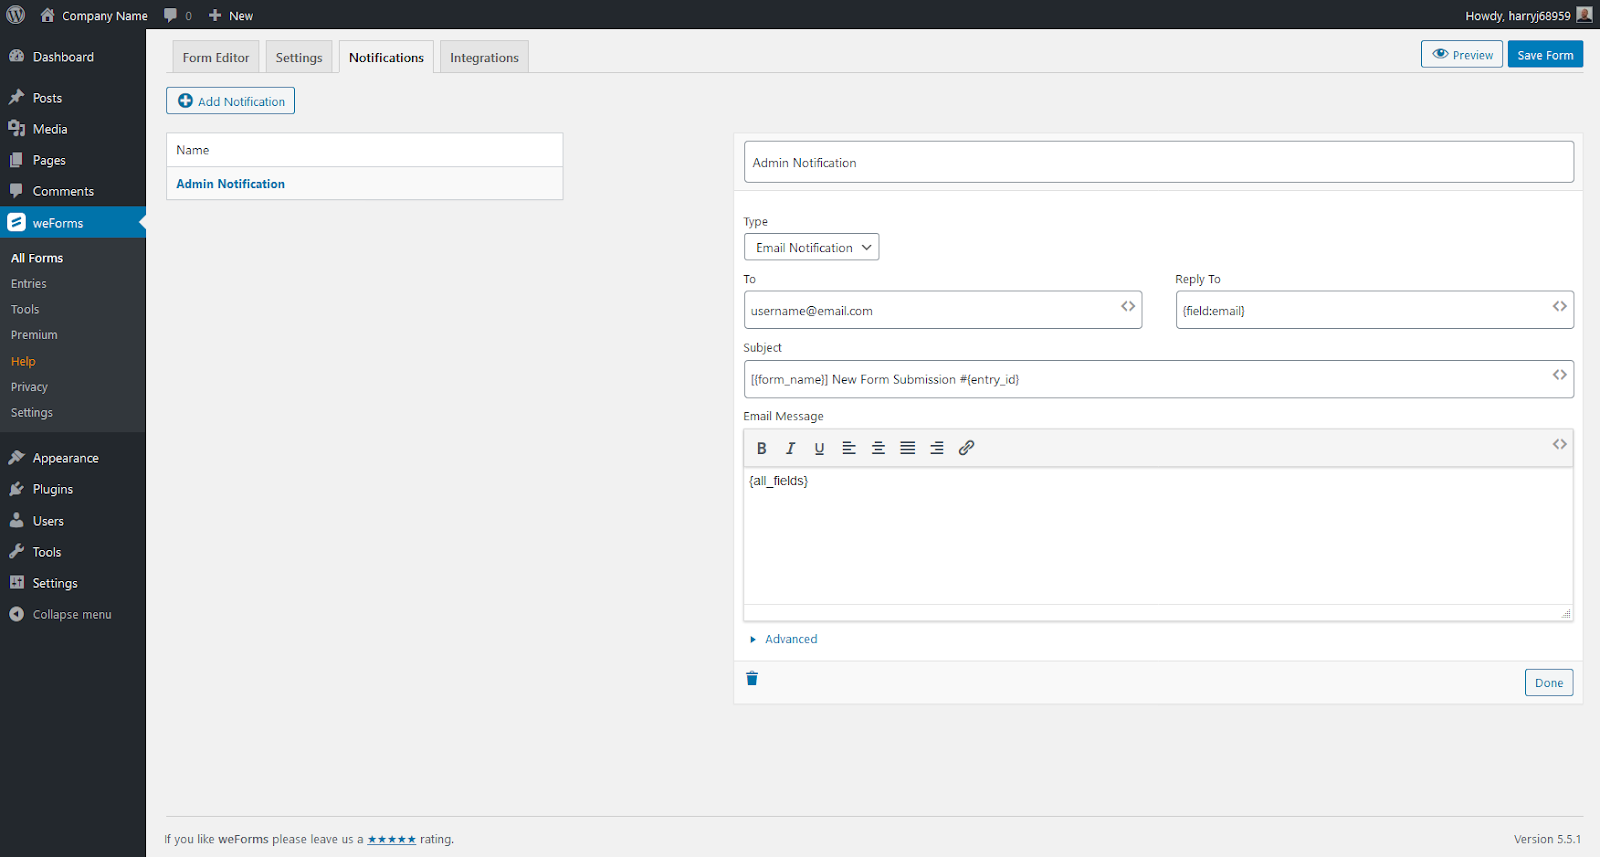
In the top right, click Save Form
Adding the Contact Form to a WordPress Page
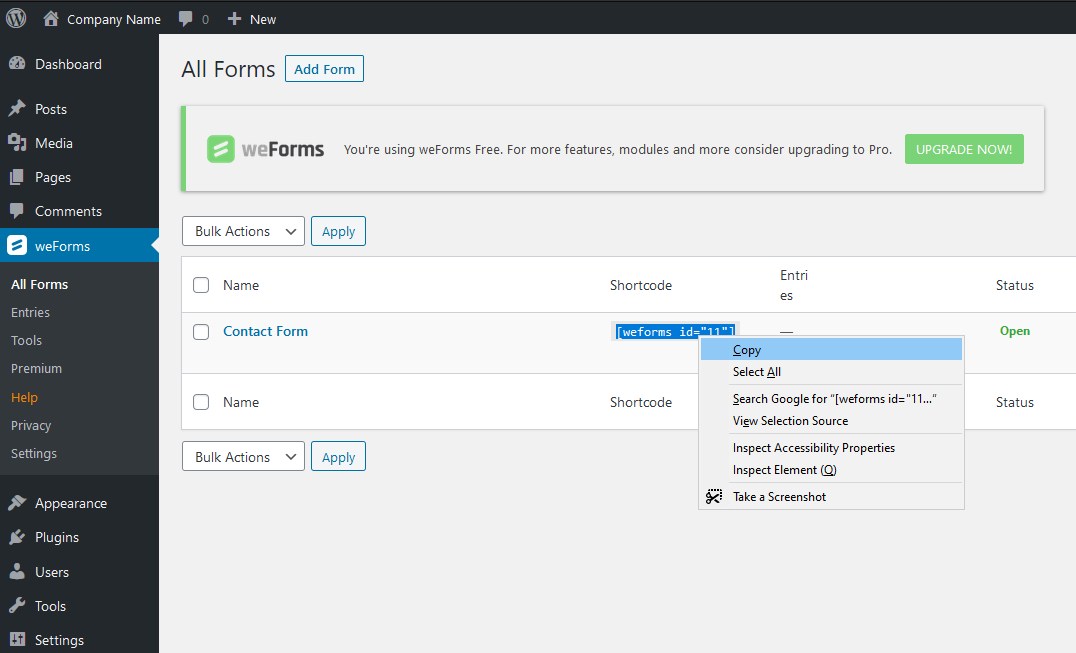
First, we need to visit the weForms → All forms page to ensure you have the proper shortcode to use for your contact page.
In the second column, find and select the shortcode needed, and copy it to your clipboard
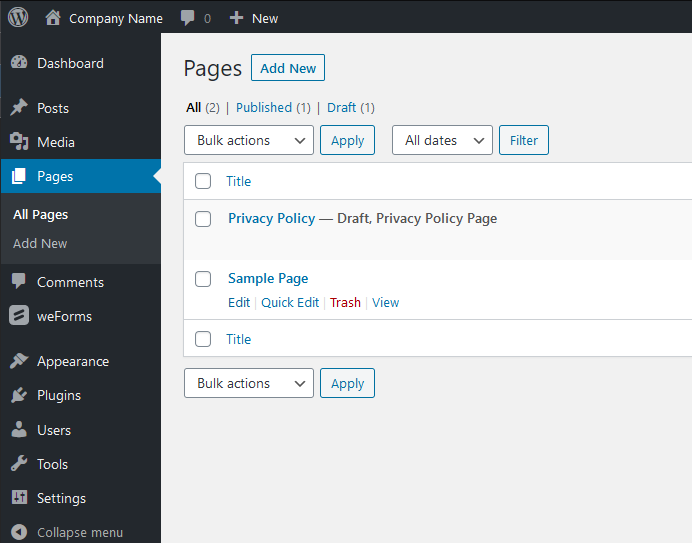
Navigate to the Pages → All Pages tab in the WordPress Dashboard to edit the page where you wish to place your contact form

Hover over the page you wish to edit, and click edit
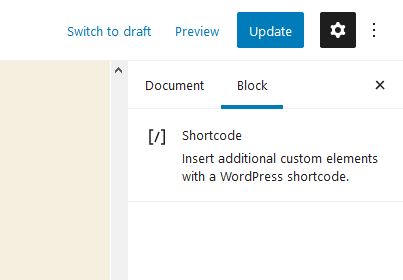
Find the place in the content where you wish the form to show, and paste the shortcode from the earlier step. For this step, we are using the WordPress editor and shortcode widget
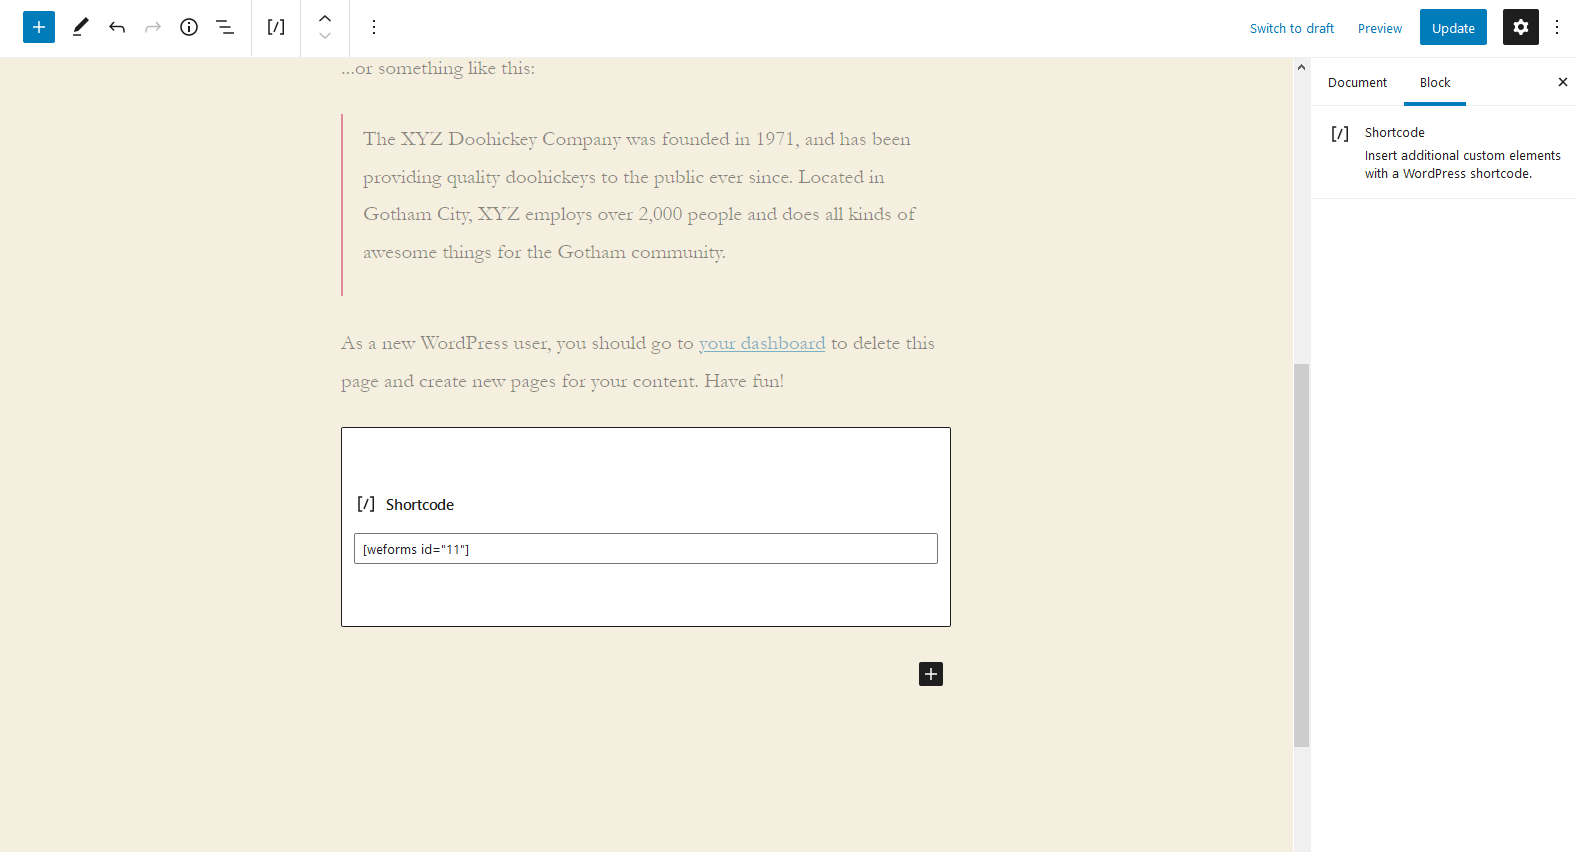
Do not forget to update the page, and preview it to ensure your form is working
That’s it! You now have a contact form for your website that your customers and visitors can use to engage and communicate with you. Next, you may want to add captcha, to help avoid spam entries on your contact form.
Adding reCAPTCHA to your WordPress Contact Form
To start using reCAPTCHA, you need to sign up for an API key pair for your site from Google. The key pair consists of a site key and secret key. The site key allows the reCAPTCHA service to work on your WordPress website. The secret key authorizes communication between your website and the reCAPTCHA server to verify the user’s response when filling out your form. The secret key needs to be kept safe for security purposes, much like you would a password.
Sign up for your Google API Keys for reCAPTCHA
Visit the reCAPTCHA Admin located at https://www.google.com/recaptcha/admin/
On the top right, click the + sign to add your website
Here, you will select what type. V2 forces users to select from a list of pictures, while V3 uses a score to decide whether a request is from a human or not. We recommend choosing V3 for a smoother user experience, but you can use either here since weForms supports them both.
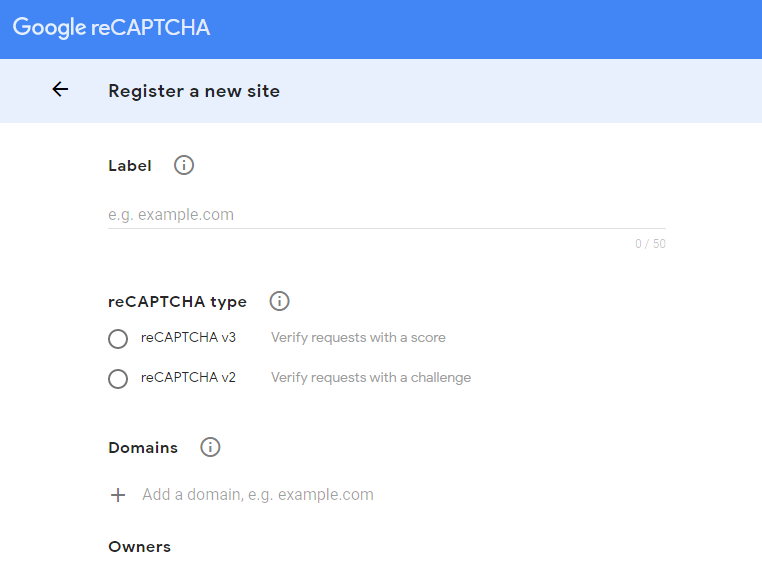
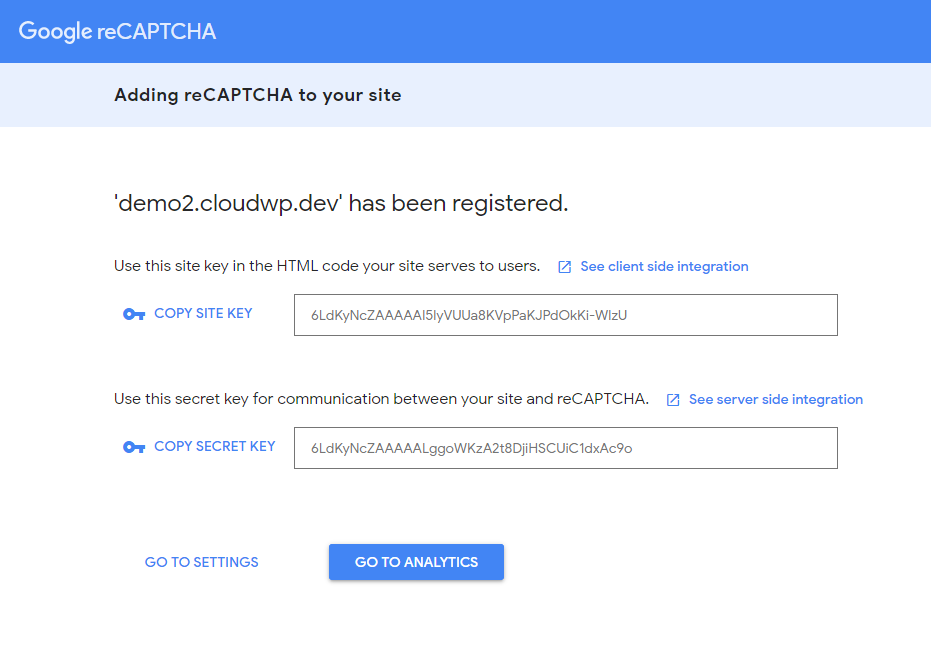
Add your domain name, ensure the email address is the one you wish to use, and click submit. Once you do, you will be given API Keys, which you should save in a safe place.
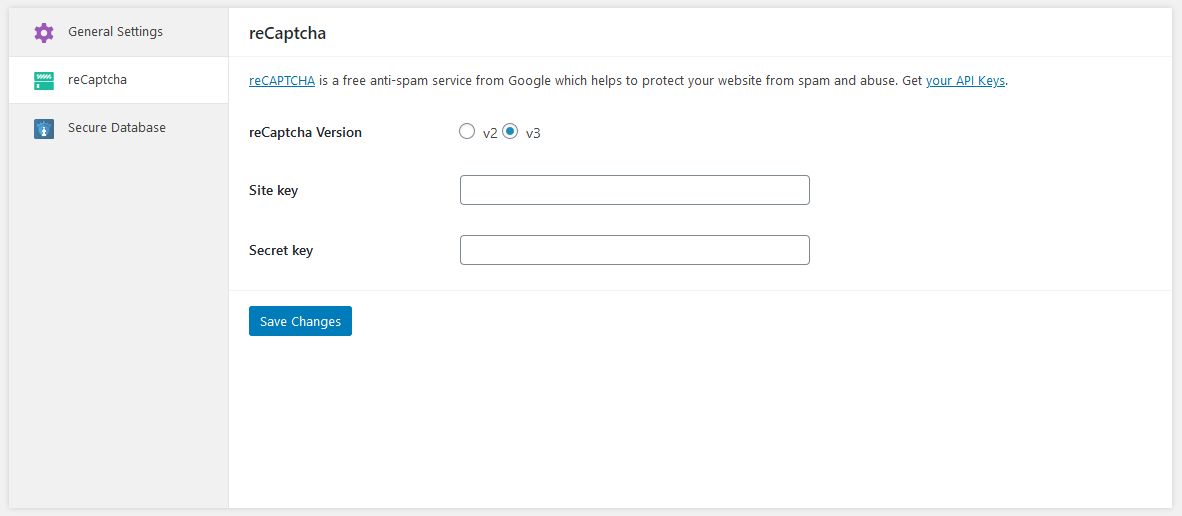
Go back to your WordPress Dashboard and navigate to weForms > Settings. Here you can select the reCAPTCHA version to match what you choose when creating the key, and click Save Changes. Your contact forms will now include the type of reCAPTCHA you set up earlier, and will protect you from spam entries.
Congratulations – you now know how to set up a contact form plugin, use it to build a form and even set up some simple security with reCAPTCHA to ensure you are not leaving yourself vulnerable to spam in your form. Get weForms now for connecting with your users easier, and faster than ever before!