
weForms is a form building plugin for WordPress that allows you to quickly add a contact form to your website.
Included in the weForms builder are over 33 field types to choose from. It’s an easy drag-and-drop form builder, making weForms a flexible contact form. This option is for all WordPress users.
In this article, we will walk you through how to install weForms on your WordPress website. Showing how to create a contact form with weForms.
- How to Install weForms in WordPress
- How to Create a Contact Form with weForms
- Create a Contact Form with weForms
- Form Settings in weForms
- Form Notifications in weForms
How to Install weForms in WordPress
Before we can create a contact form with weForms, first we need to install it.
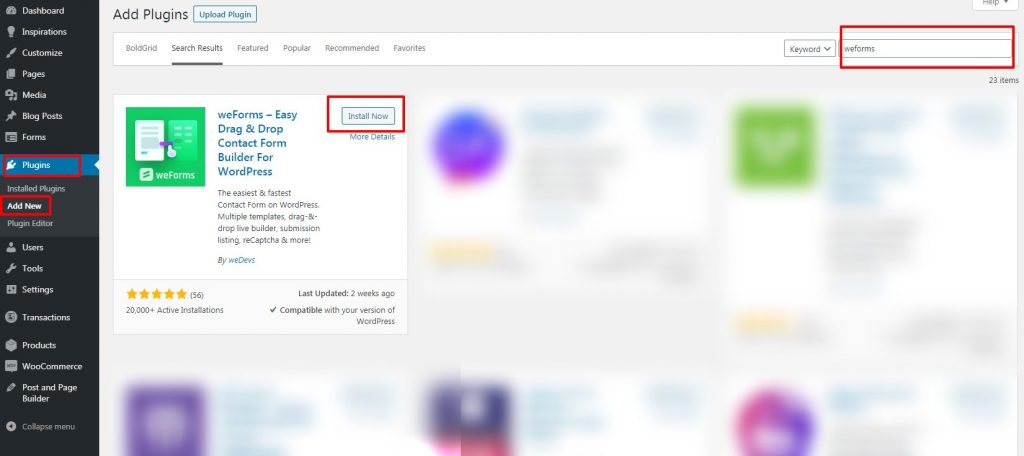
Step 1: Navigate to Plugins in the left-hand panel, then click Add New. On the Add Plugins screen, type weForms in the search box then click enter on your keyboard. When the weForms plugin appears, click Install Now.
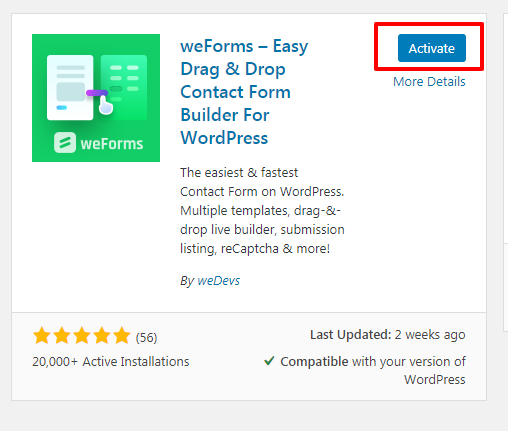
Step 2: Once installed, the Install Now button will change to Activate. Click the Activate button to install the plugin.
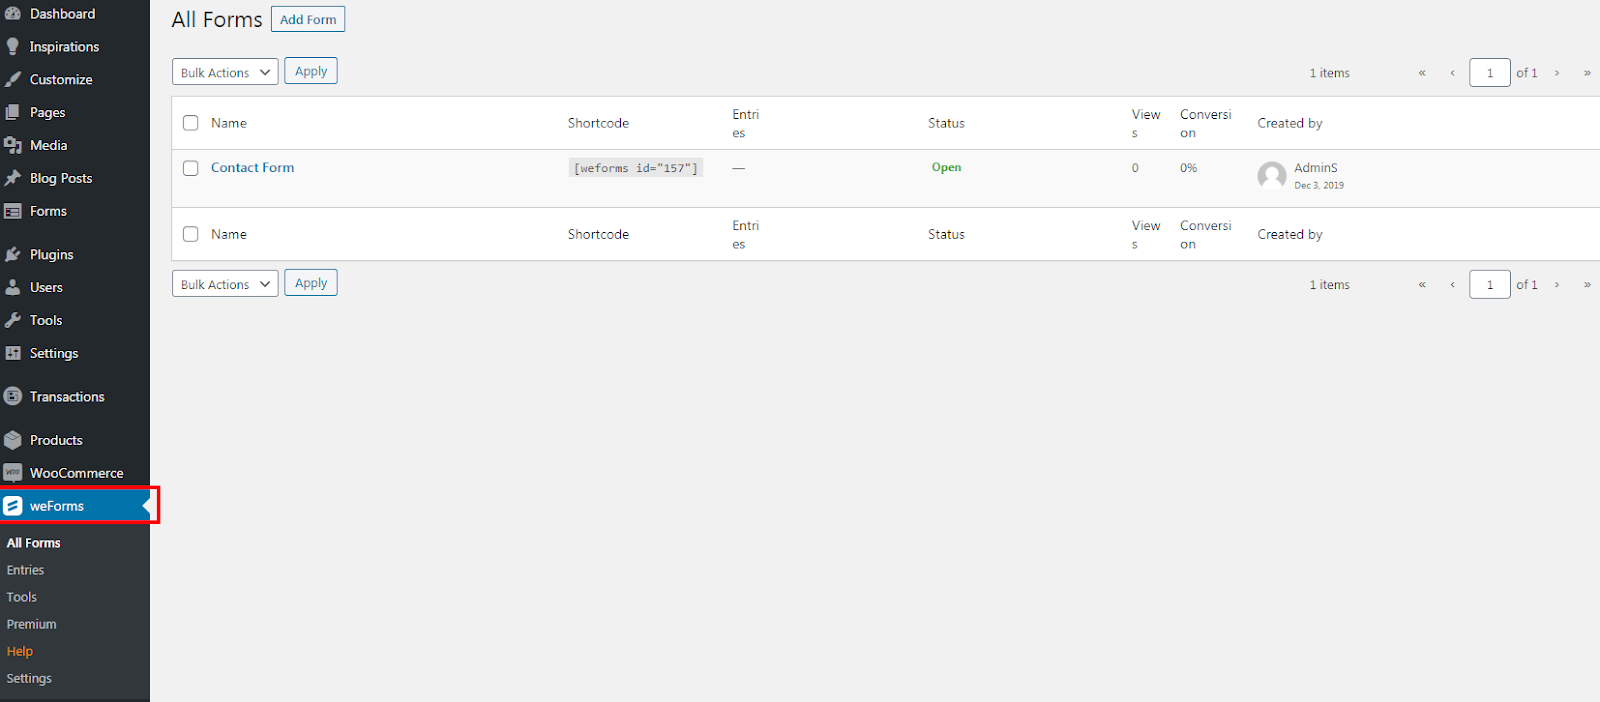
Step 3: weForms will appear in the left-hand panel once activated. You’re now ready to begin creating your forms.
Now that weForms is installed, learn how to create a form and add it to your site.
How to Create a Contact Form With weForms
Once you have weForms installed on your WordPress site, it’s smooth sailing. You will be able to create a contact form tailored for your organization or business needs.
Create a Contact Form With weForms
Step 1: Navigate to weForms in the left-hand panel. On the All Forms page, click Contact Form. By default, a contact form will come preloaded. We’ll customize this form for this tutorial. However, you can create a new form by clicking Add Form towards the top of the settings screen.

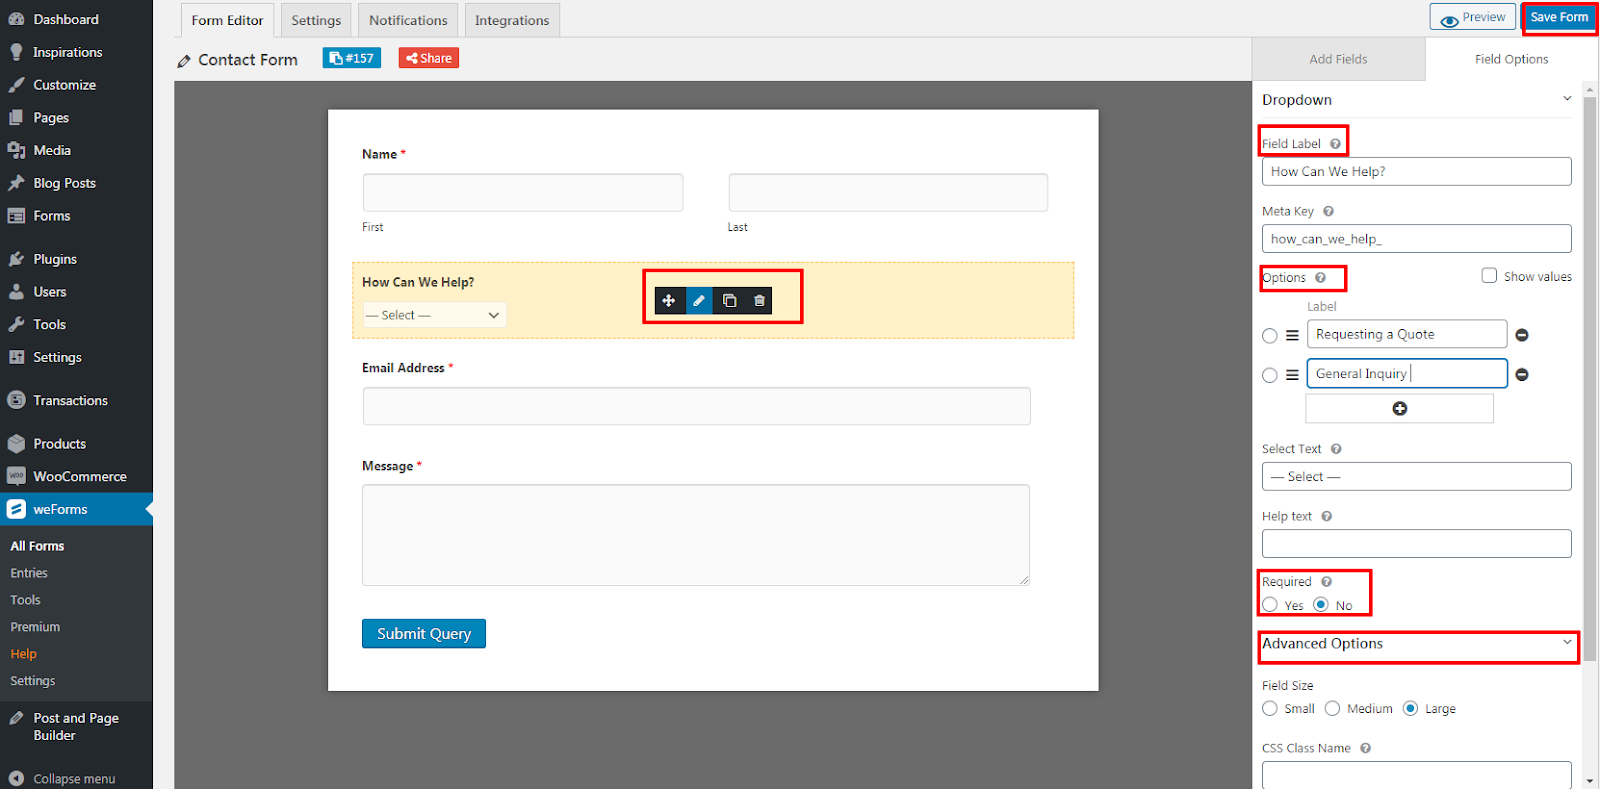
Step 2: Once you’ve clicked on Contact Form, the next screen will be the editing screen for the form. You will now be able to add, delete, and edit fields for the form. Then add a field, click on one of the options in the right-hand panel then drag it over to the form. Allowing you can change the position of the new field by dragging it up and down within the form. Additionally, you can change the name of the form by clicking on the form name right above the display of the form.
Note: Not all field types are available with the free version of the plugin.

Step 3: To edit the new field, hover over it then click the pencil icon. This will work for existing fields as well. The field options will display in the right-hand panel. Within the field options, you will be able to:
- Change the name of the field
- Add field selection options (if applicable)
- Add assistant text (which will give website visitors information/instructions about the field)
- Mark the field as required
Furthermore there is a set of advanced options that you can use to further customize fields. Click advanced forms under the General Options. Make sure you click Save Form to save your work.
Form Settings in weForms
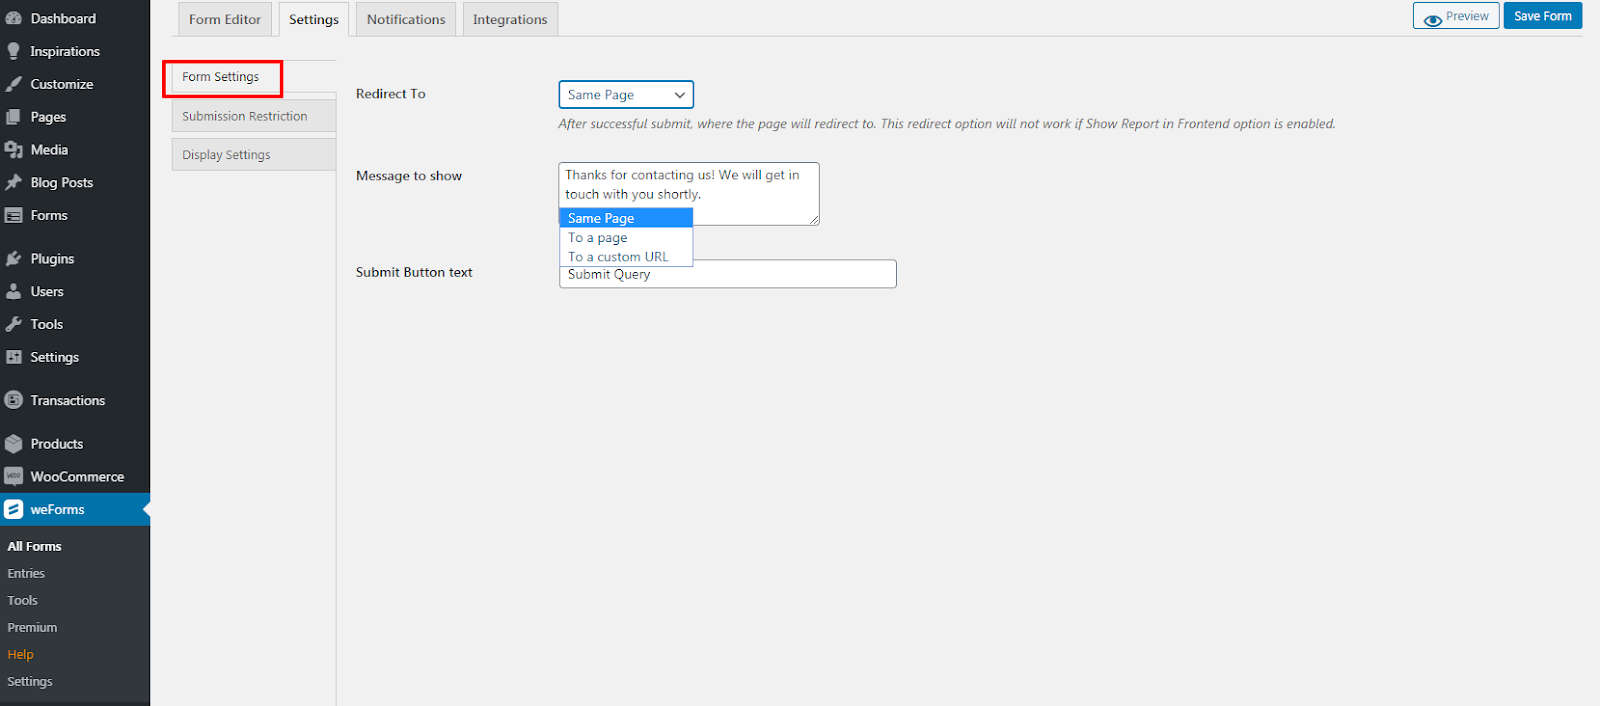
Step 1: To edit the overall form settings, click on the Settings tab while in the Form Editor. Once in the Form Settings tab, you will be able to:
- Set up a redirect after the form submissions
- Edit the submission message
- Change the text on the submit button
Step 2: Submission Restrictions. These allow you to schedule a period of time the form is active, require a login to submit the form, and even limit the number of form submissions. Make sure you click Save Form to save your changes.

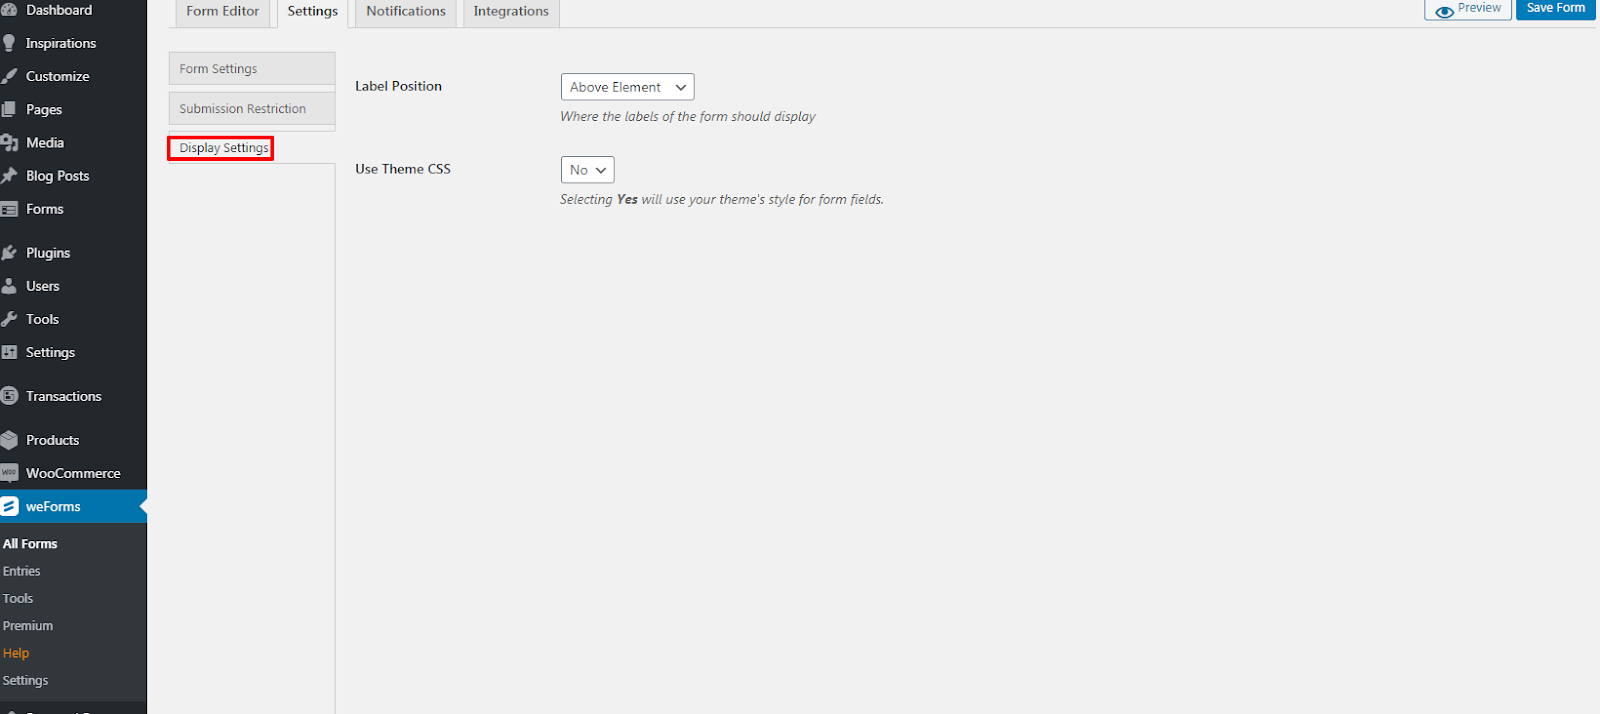
Step 3: Display Settings. These will allow you to change the position of the field names and enable your theme’s style for the form fields. Make sure you click Save Form to save your changes.
Form Notifications in weForms
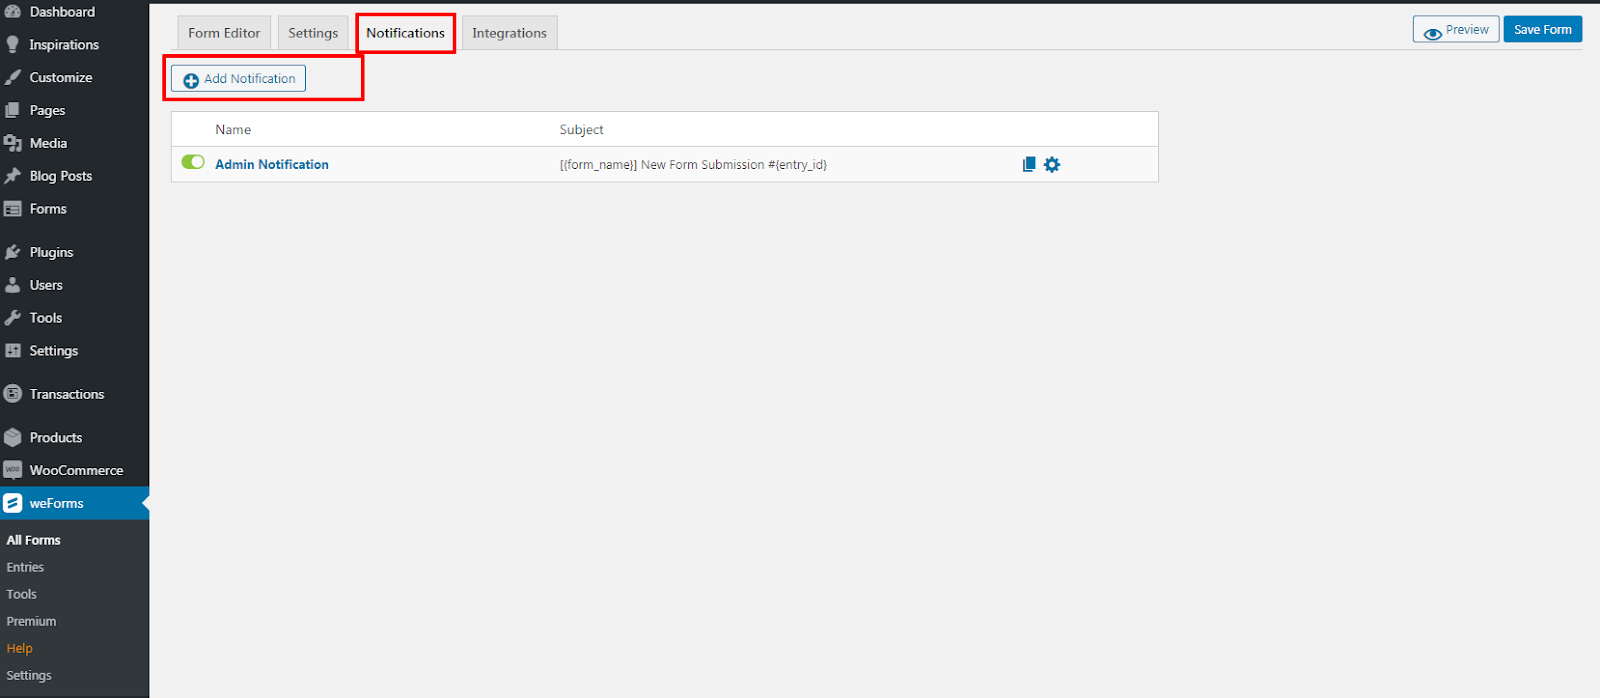
Step 1: To edit the notifications settings for the form you created, click on the Notifications tab within the Form Editor. You should already have a default admin notification setup. You can add others by clicking Add Notification above the list of notifications.
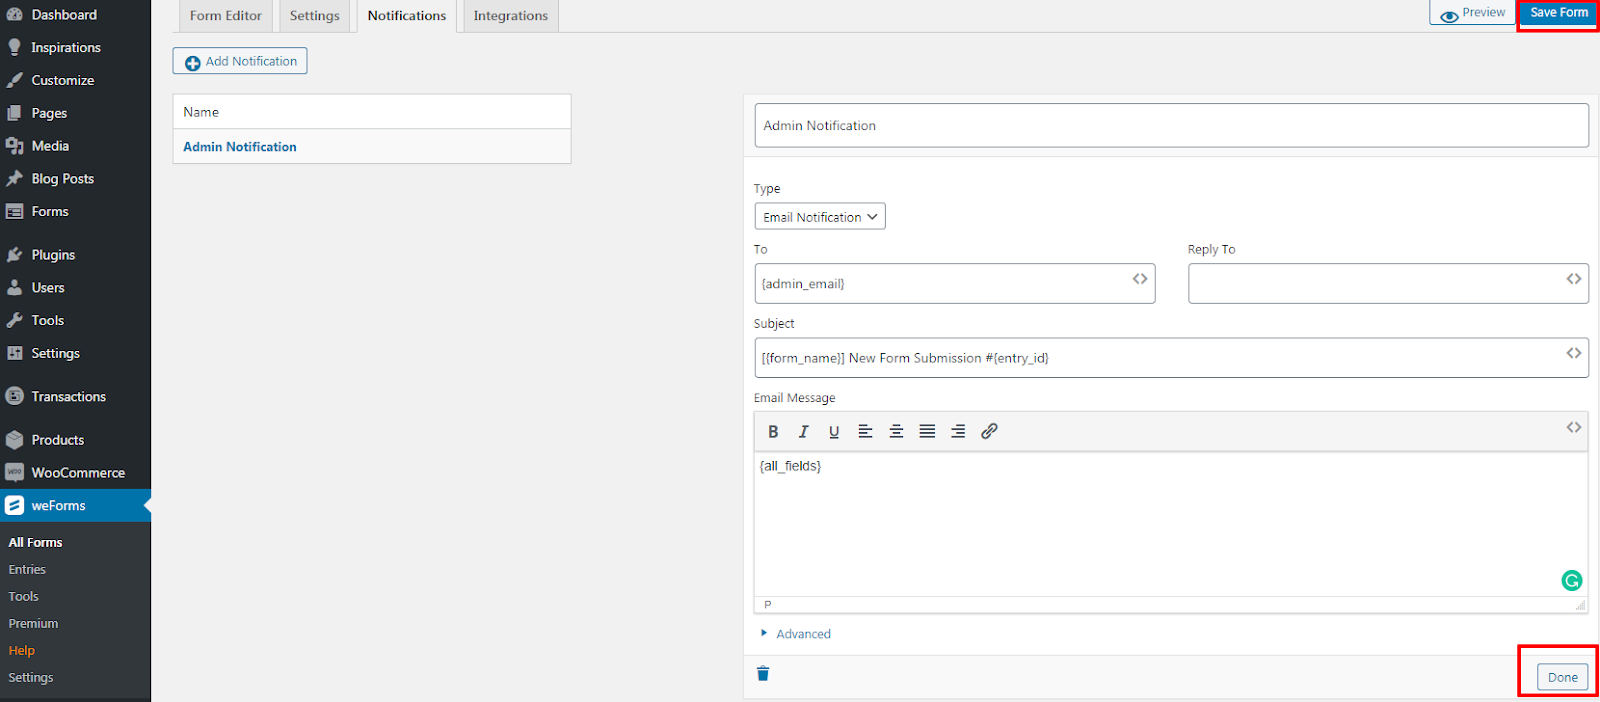
Step 2: You can edit your notification settings by clicking on the gear icon, or the name of the notification (in this case, Admin Notification). Within the notification options, you’ll be able to change:
- Delivery type
- Receiving email
- Subject shown
- Number of fields you’ll receive within the body of the email
Make sure you click Done and Save Form to save your changes.
You should now know how to install the weForms plugin and how to create a contact form with weForms! If you wanted to try weForms pro you can try our contact form plugin for WordPress.
4 replies on “Creating Your First Contact Form With weForms”
I am unable to delete fields in a job application form. i click it and nothing happens
Hello Michael,
Thank you for reaching out. It sounds like there might be an issue with another plugin. Can you go into the weForms settings located in weForms -> settings and then enable no conflict mode and go back into the form and see if it will let you delete the field for you?
Thanks
Elana D.
I have purchased the pro version, how do I activate it on WordPress. It is still saying, I need to upgrade
Hello,
Thank you for reaching out! Make sure you download the Pro version and get that installed. You can do that from your account page on weformspro.com
https://weformspro.com/docs/getting-started/upgrading-to-weforms-pro-and-activating-your-license/
Then go into WordPress -> weForms -> license and put in your license key.