There may be times when you need or want to create a footer with a form on your WordPress site. Using weForms, you can easily do this using the widget blocks in WordPress. Follow the tutorial below to learn how to create a footer in your WordPress site using weForms.
- Before You Start
- Creating a Footer using weForms
Before You Start
You will need to plan the creation of your footer if you plan to use a form. Things you should consider include:
- Theme considerations – does your theme provide enough space for a form?
- Have you created the form that you want to use?
weForms is a powerful form application and plugin that can be used with your WordPress site. Before you can add a form as your footer, you will need to work with your WordPress site to determine if the form will best fit in the footer section of the site. The requirements may vary based on the theme being used for the site.
An example of the wrong kind of form for your footer is one that has so many input fields that it affects the display of your website.
You may need to create a test form for your site to make sure that it doesn’t disrupt your website’s design. A good example of a form being used as a footer is a form for signing up for a newsletter. This kind of form may simply need a name and email address.
Planning the form you want to use in your footer will help you to avoid frustration and save you time in the long run. weForms is a very flexible and powerful form builder that can provide a solution with its pre-built templates or a custom one that you design yourself.
Creating a Footer using weForms
This tutorial will be using a WordPress site with weForms Pro installed. Options that you may see in the form may not be available in the free version of weForms.
If you need to create a form first, then please see our article on Adding a Form using weForms.
- Log in to the WordPress Administrator Dashboard.
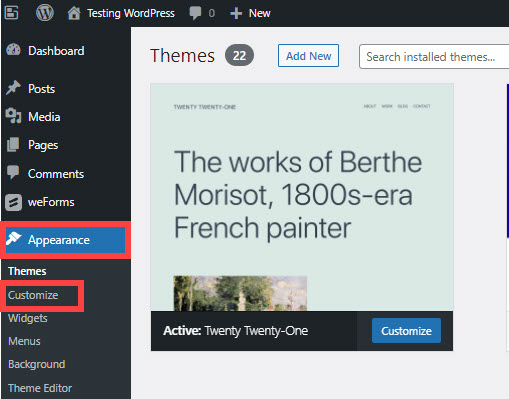
- In the menu to the left, click on Appearance.
- Click on Customize. This will bring you to the front-end Customizer.
- In the menu column to the left, click on Widgets. The Twenty-twenty–one theme provides an area for a footer so that it can be populated by a widget block. Scroll down the list of widgets and look for weForms.
- When you find weForms click on the drop-down menu and select the form you have created. If you don’t see weForms listed, then scroll to the bottom of the list and then click on the + sign to add a new block.
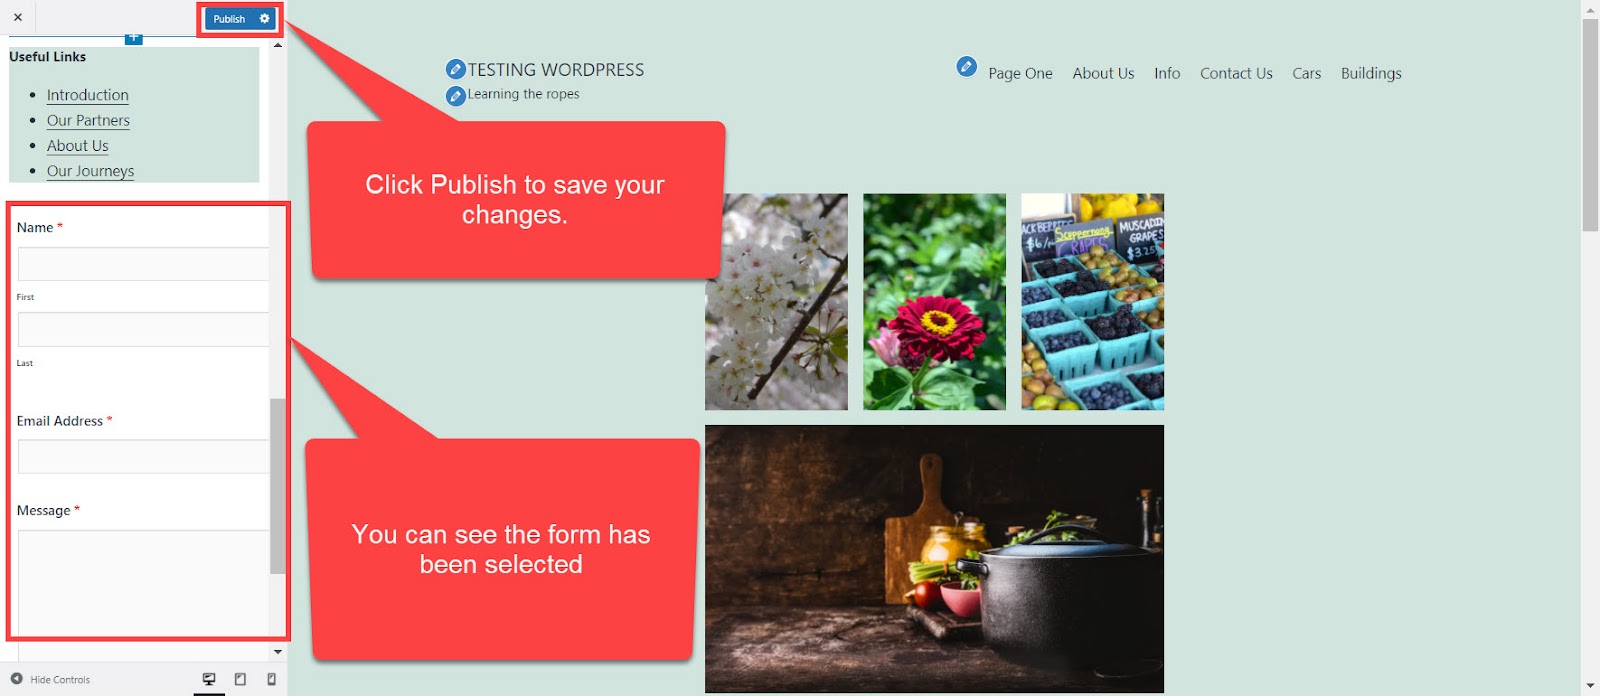
- The block that you select should be labeled weForms. Once you select weForms you should see a drop-down menu to select a form from the ones that have been previously created. Select the form you want to use on your site. You can see an example of this in the screenshot above.
- The form should open in the column space to the left. Once you see it there, click on the Publish button at the top of the left side of the page.


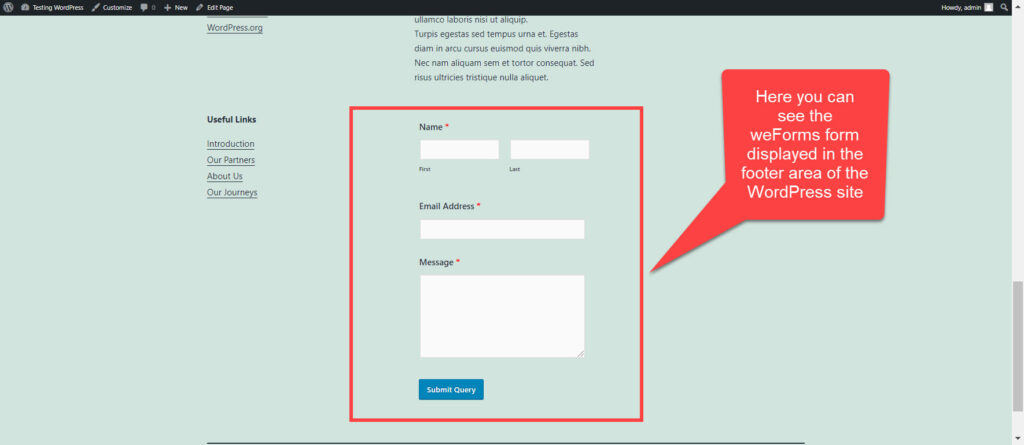
Check that footer on your website to double-check that the form has appeared on your site the way you intended.
This completes our tutorial on how to create a footer using weForms on your WordPress website.